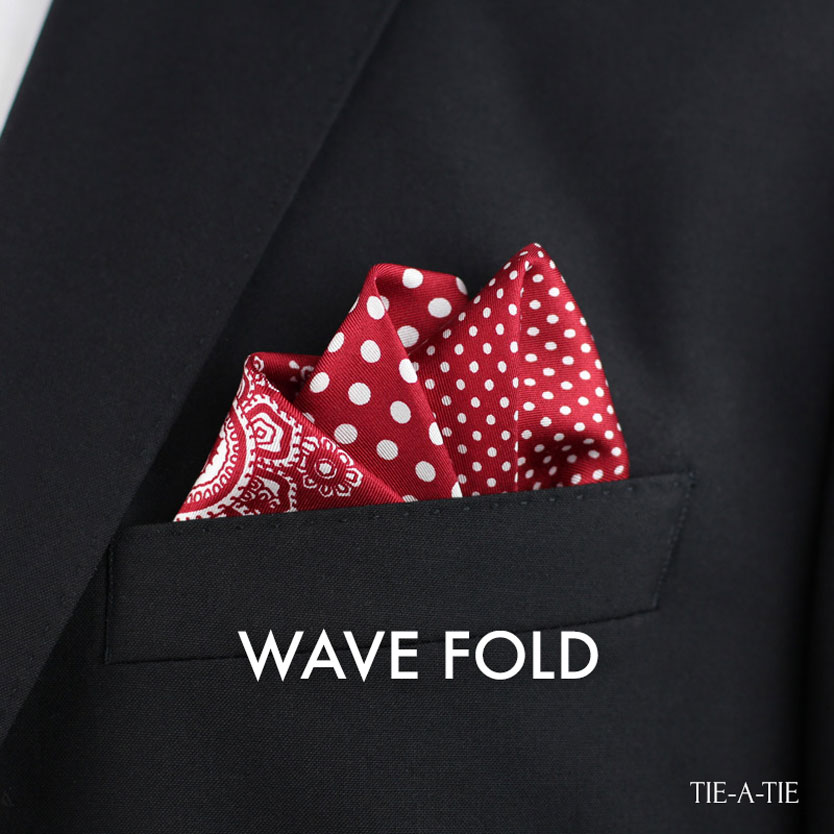
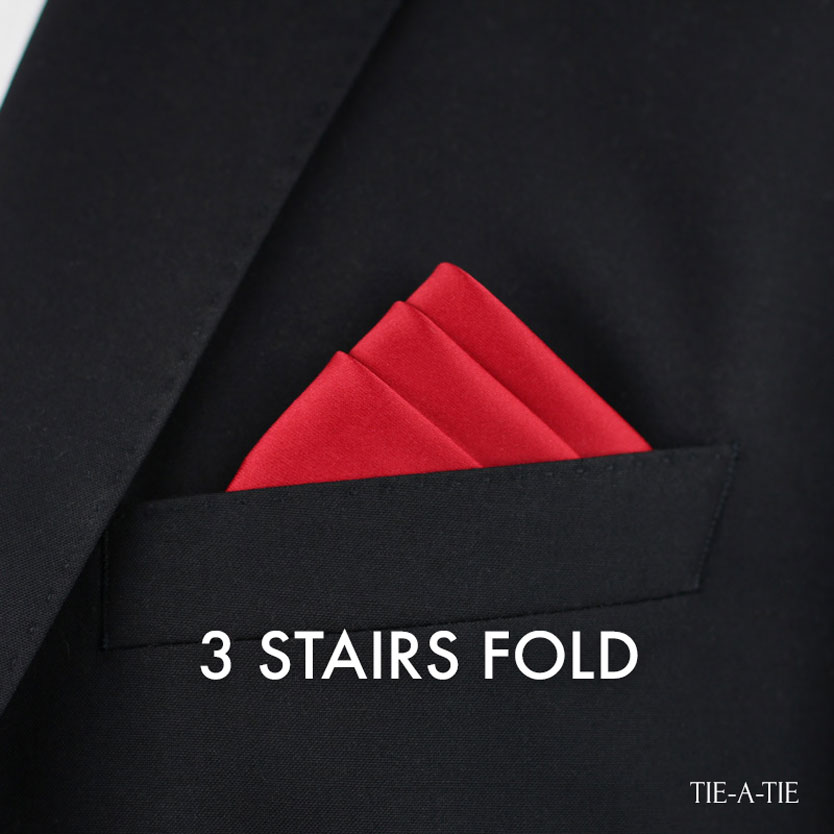
If you like yesterday’s featured “3-Stairs Fold” then I am convinced you are going to like the “wave Fold” as well. Because the “Wave Fold” has more volume than the “3-Stairs” it is better suited for patterned pocket squares creating a more vibrant, fun, and somewhat casual look. Here is how to create this fold:
1-Tip Up Pocket Square Fold Step-by-Step:
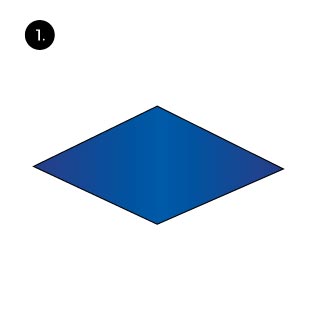
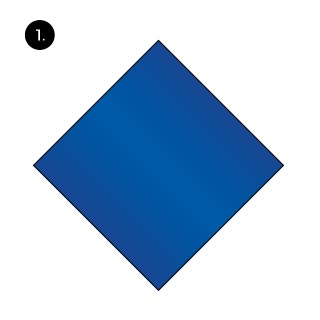
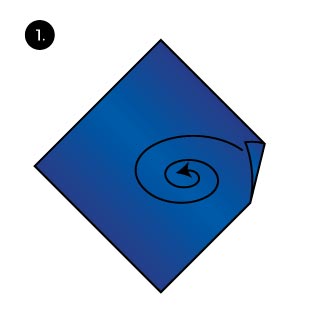
 As with all pocket square folds, lay the pocket square down flat.
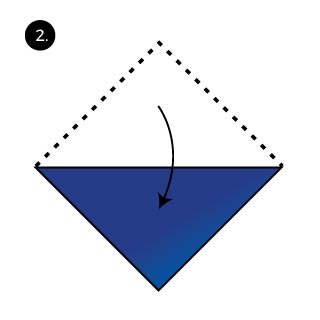 Fold one corner down to create an even triangle.
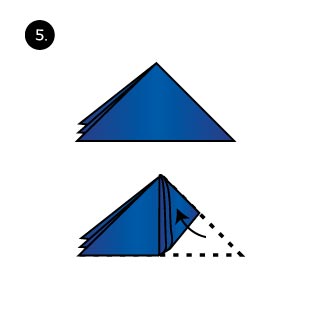
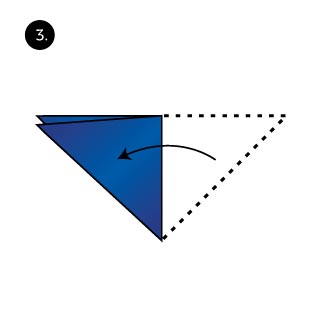 Fold one side in so that it ends just below the other side.
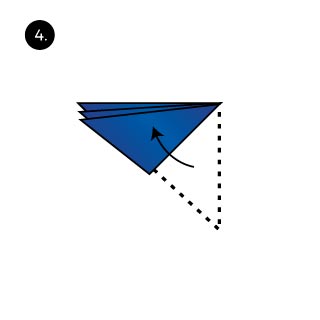 Fold in again. Now 3 corners should be showing.
 Turn the pocket square so the long side of the triangle faces towards you. Then fold the closed side up.
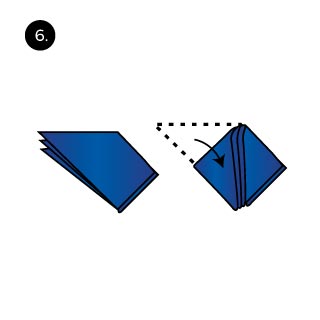 Turn the pocket square over and have the tip face towards you. Then fold the side that has the corners shown down.
 Fold it in half again so that the “waves” become visible.
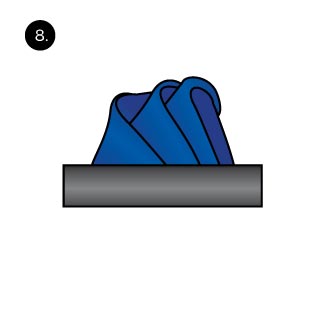 Last, place the folded pocket square into your breast pocket.
 Lay the pocket square down flat. Make sure it is free of wrinkles.
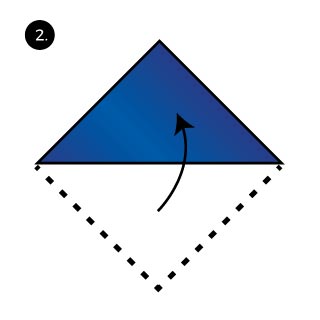 Fold in half to create a triangle.
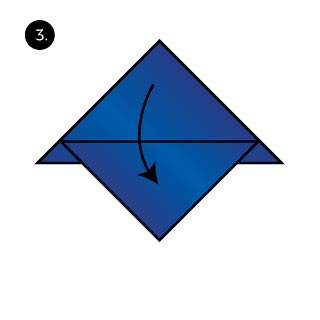 Create accordion like pleats by folding a portion of the triangle up, then back down. Make sure the folds stay in place by pressing down with the palm of your hand.
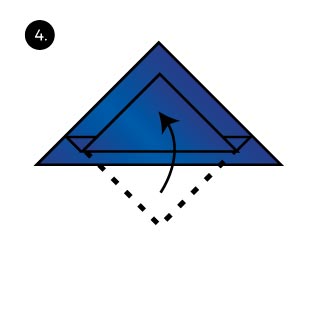 Continue to create pleats. Make sure that about 1/2 inch shows from the pleat below.
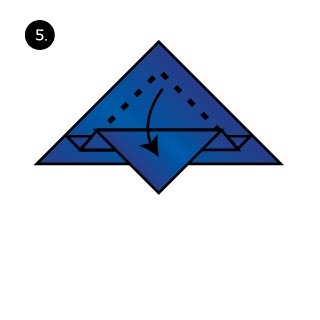 And create yet another pleat.
 Now fold to create the 3rd and final pleat.
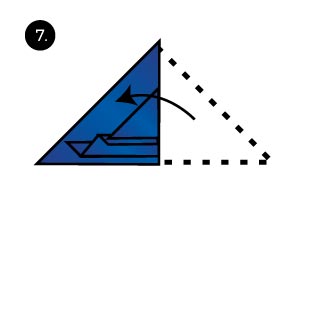 Fold the trinangle in half at the center.
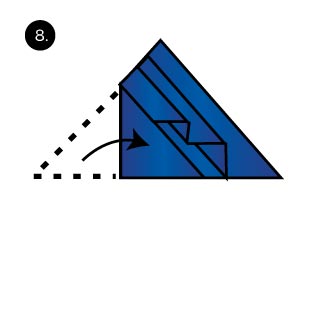 Now fold one side over.
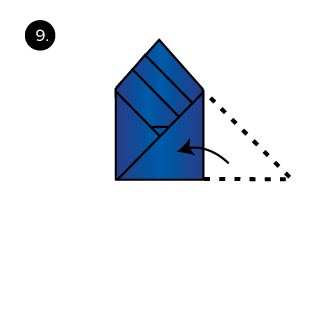 Do the same with the opposite side.
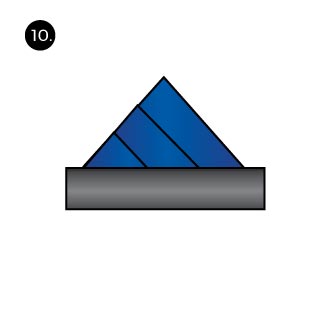 At last tug the pocket square into your breast pocket.
 Lay the pocket square flat down.
 Fold one side over to create an even triangle.
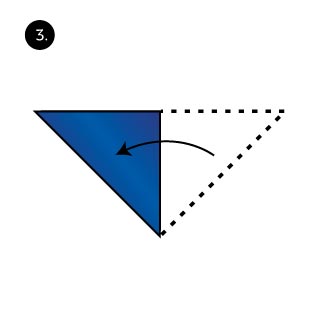 Now fod one side over to create a smaller triangle.
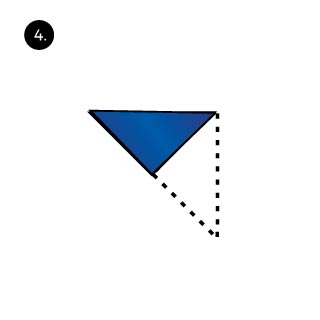 And fold over again. The triangle gets smaller again.
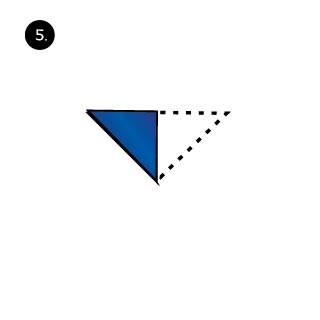 Depending on the size of the pocket square, you may want to fold the triangle in half again.
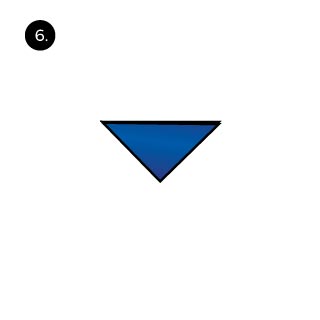 Now turn the pocket square so that the long edge faces up. The fold is complete.
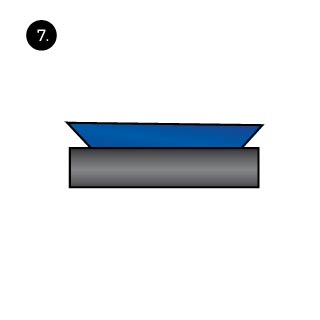 Last, place the pocket square into your breast pocket. That’s all!
 Lay your favorite pocket square on a flat surface.
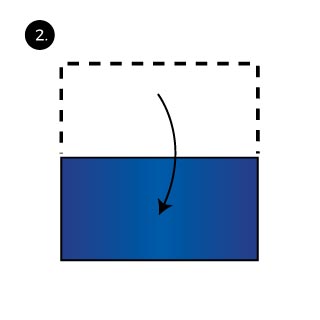 Fold it in half along the center to create two overlapping rectangles.
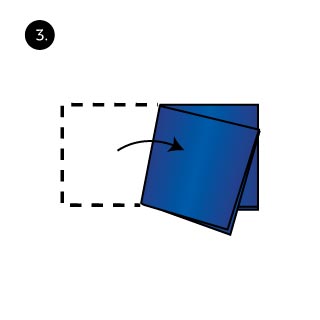 Fold one side over so that two rectangles are showing on one side.
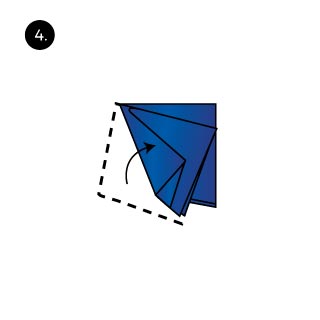 Fold over from the same side again. Now it should look like 3 overlapping triangles.
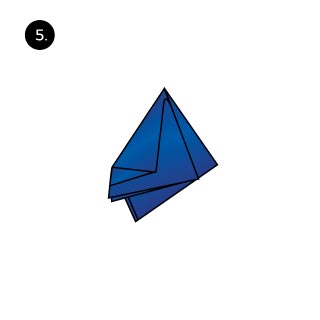 Now turn the pocket square so the tip faces up. It is now ready to be tugged into your breast pocket.
 Finally, this is what the fold looks like when tugged into your jacket’s breast pocket.
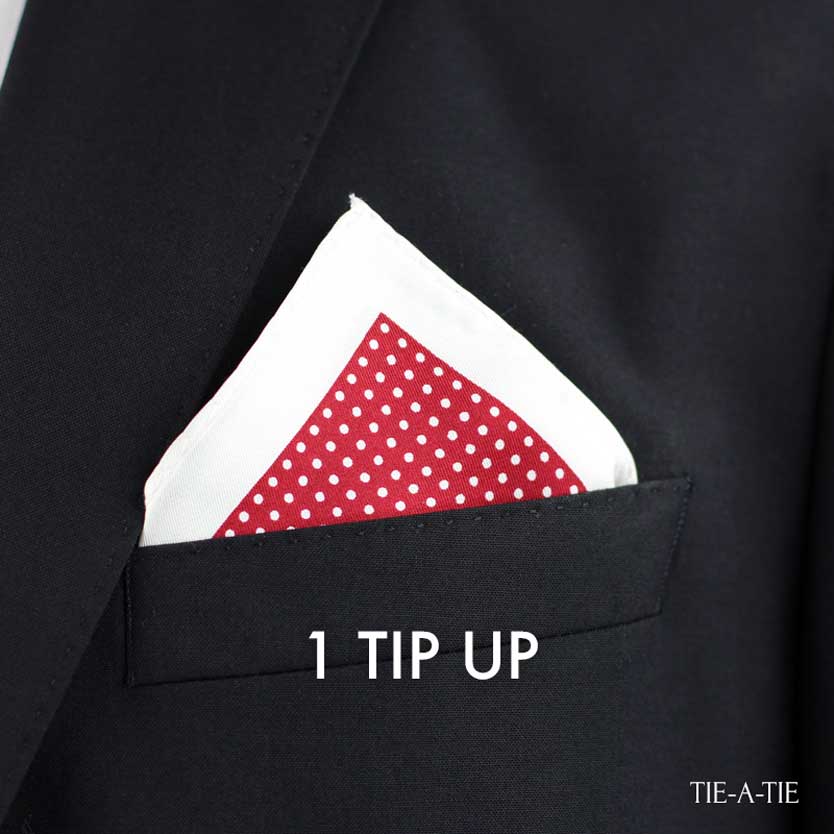
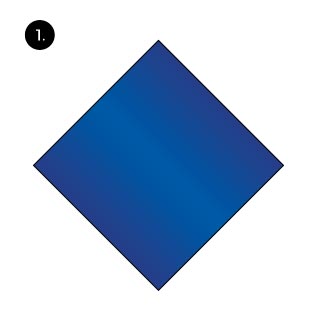 Lay the pocket square down flat.
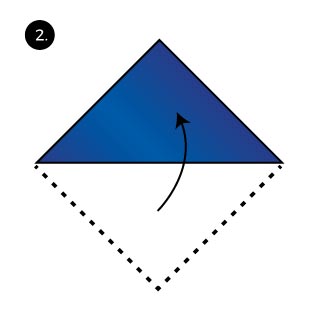 Fold one corner to create a triangle.
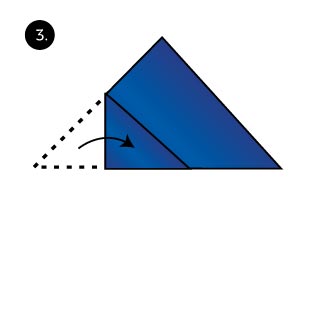 Fold in one of the sides.
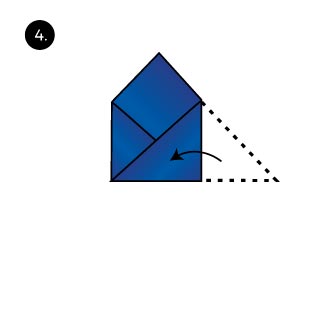 Now do the same with the other side. This is what the “1-tip up fold” looks like when not tugged into your breast pocket.
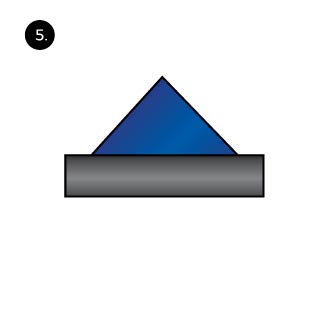 Last, place the pocket square into your breast pocket. Give it a final styling to suit your liking.
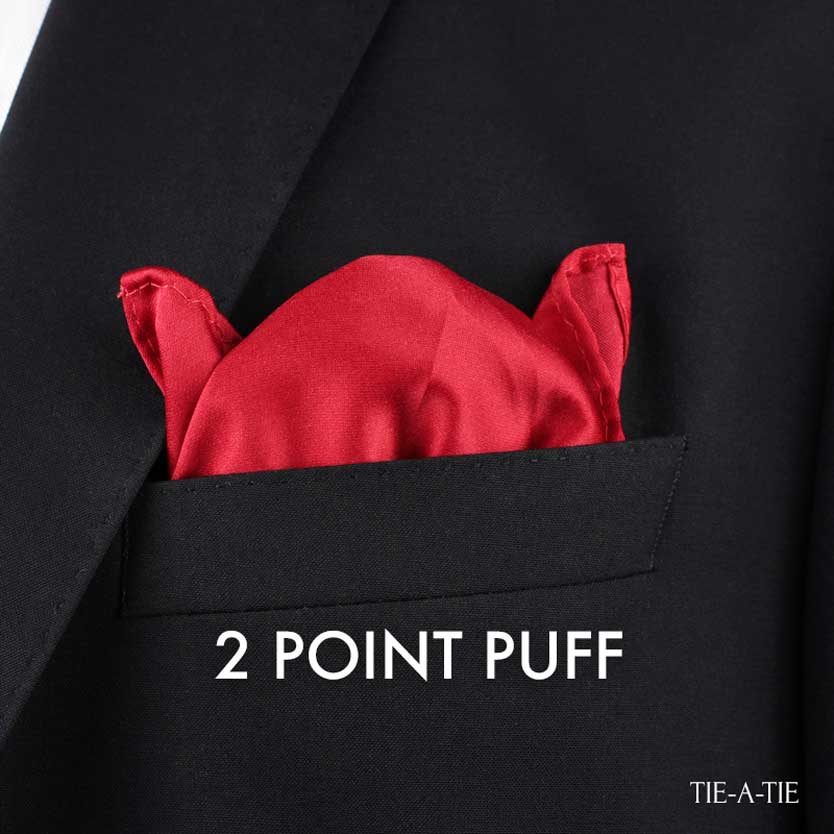
 Lay the pocket square flat. Make sure it doesn’t have any wrinkles or creases.
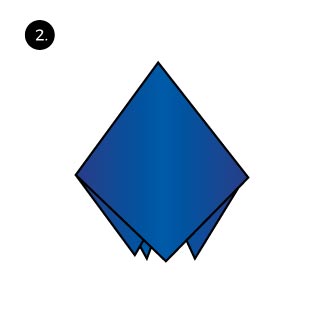 Pinch the center and pick up the pocket square.
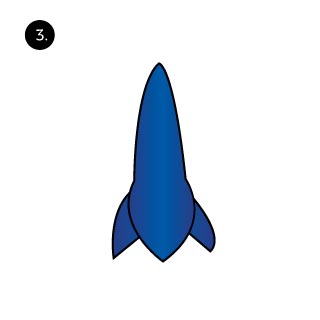 Slide the pocket square through your other hand to “puff” the center that is pinched by your fingers.
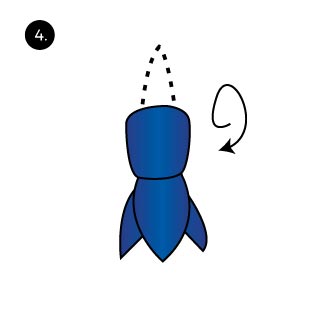 Push down the center to create a looser “puff”.
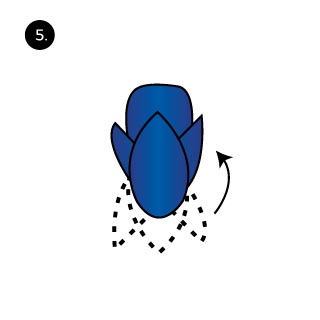 Now turn the pocket square upside down so that the corners are facing up.
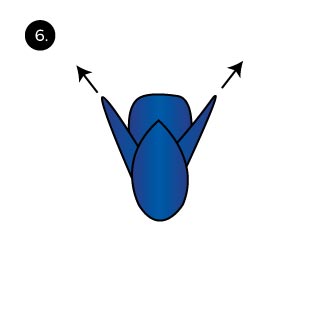 Pull out two of the outer tips so thy extend higher than the other corners.
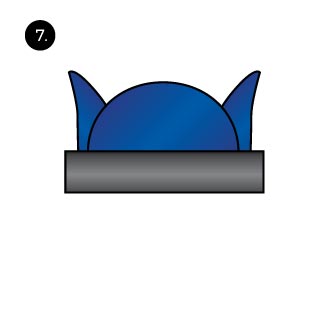 Last, stuff the pocket square in your breast pocket. Finish styling it to make sure the tips face outwards from the puffed dome. That’s all.
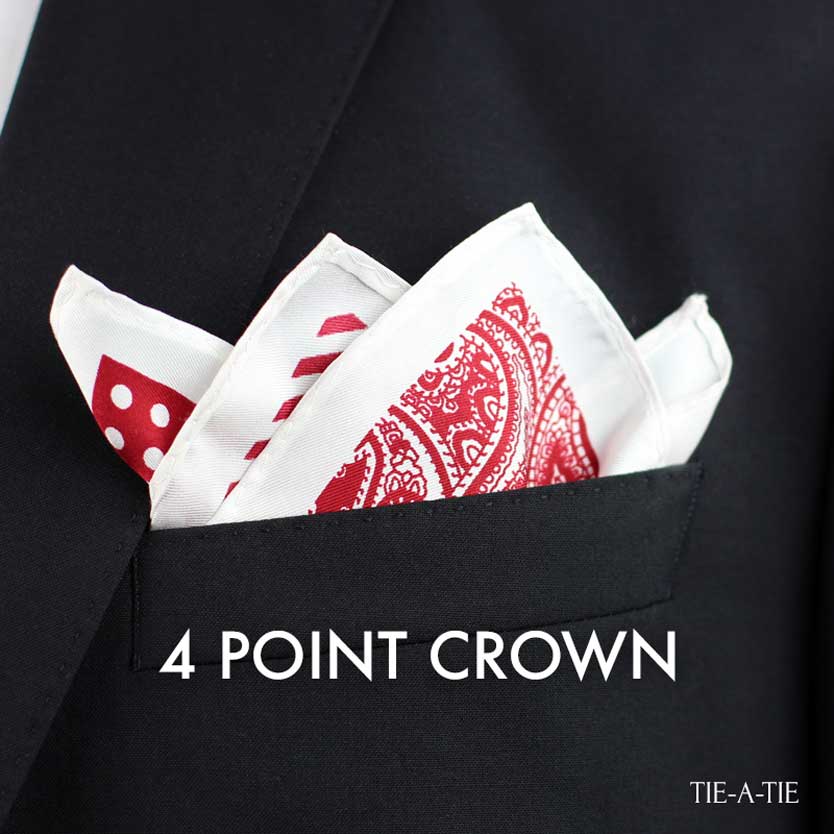
 Lay the pocket square flat.
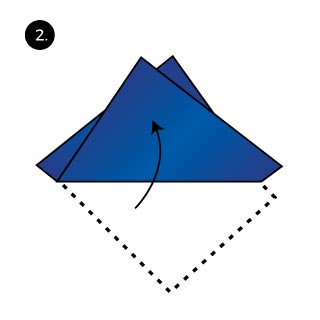 Now fold one corner up to create two overlapping triangles.
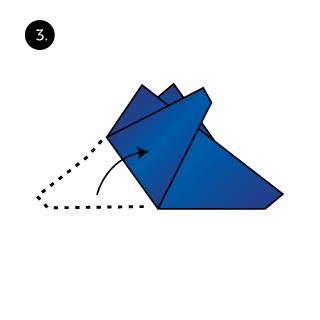 Fold in one side to create the 3rd point that will be showing.
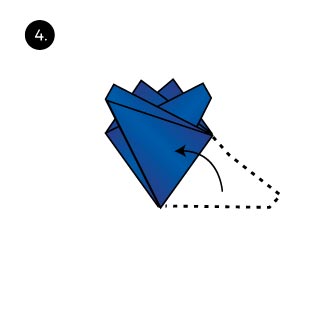 Next, fold over the opposite side. This creates the 4th point and the crown is complete.
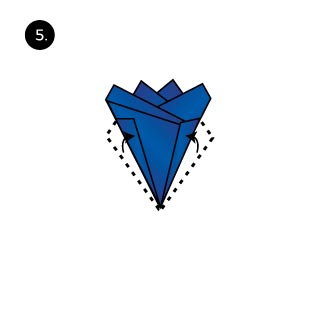 This is what the 4-point crown fold looks like when complete before tugging it into your breast pocket.
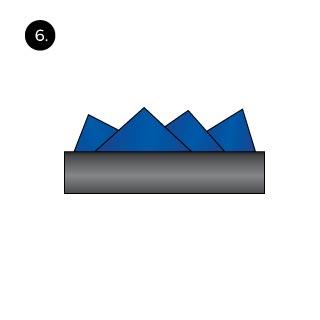 Lastly tug the pocket square into your breast pocket so that all 4 points are showing. That’s all!
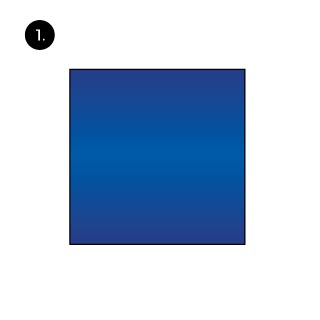
 Lay the pocket square flat.
 Start rolling from one corner. Roll until you rolled up about 2/3 of the pocket square.
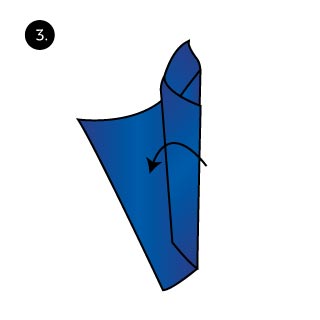 Hold the larger roll in place.
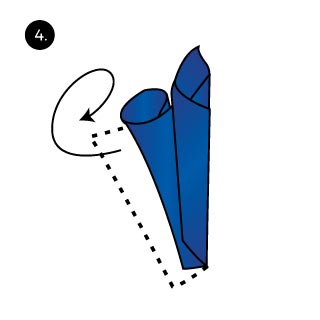 Now roll the opposite side under.
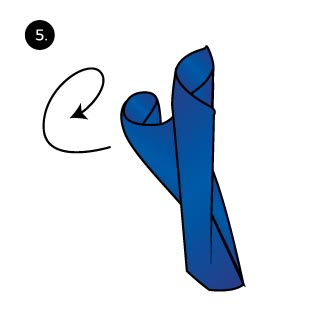 Roll all way way until you connect with the larger tube.
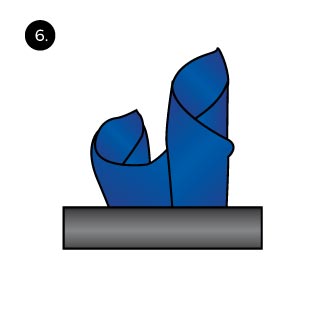 Last, tug your Catta Lily folded pocket square into your breast pocket. That’s everything!
 Lay your pocket squares flat. Make sure it is free of wrinkles.
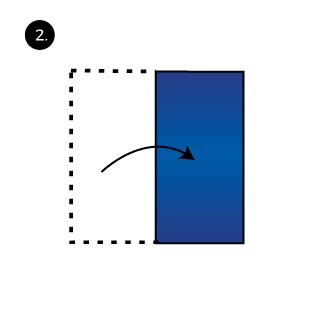 Fold one side over at the center to create a long shaped rectangle.
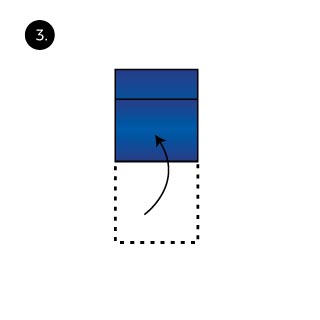 Now fold the long side over so that it ends about a 1/2″ short of the other side.
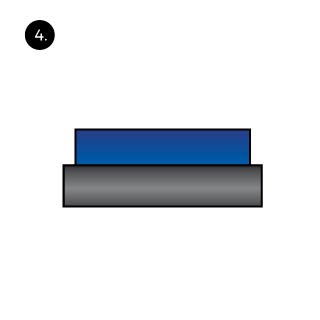 Now tug the pocket square into your breast pocket so that only a quarter to half inch are showing.
 Start by laying your pocket square on a flat surface.
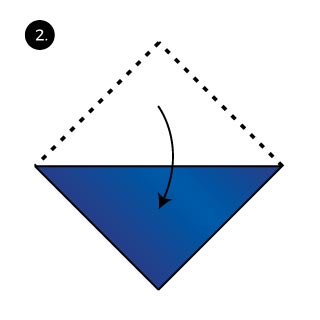 Fold one side over to create a triangle.
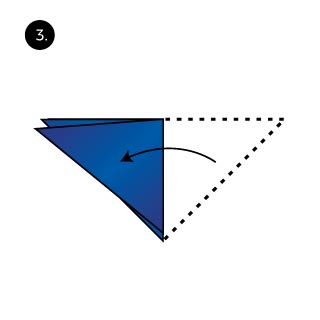 Fold it again at the center to create a smaller triangle.
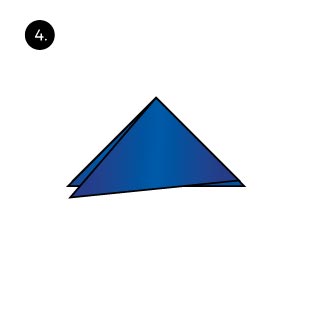 Turn the pocket square so that the longest side is facing towards you.
 Now fold the side with the open ends over.
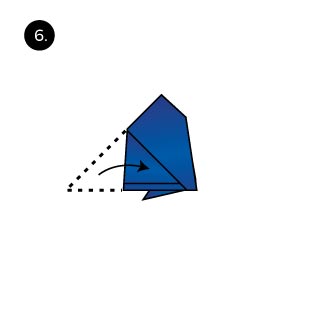 Turn the pocket square over and fold in the other side so that the fold fits into your breast pocket.
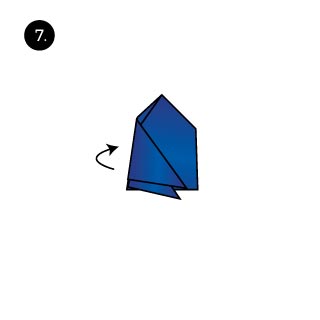 Turn it over again. The fold is complete.
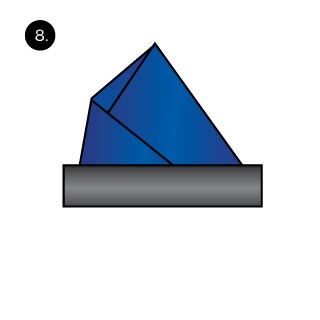 As a final step, tug the pocket squares into your breast pocket. That’s it!